In the first part of this series of blog posts I explained how to nest Hyper-V on Hyper-V.
This time we will nest Hyper-V on a VMware ESXi. This will add the functionality to have running VM:s on Hyper-V. This solution is off course not supported by either VMware or Microsoft so do not attempt to do this in a production environment. The use case for this install is to learn the beauty of Microsoft Cloud OS or perhaps install an environment to prepare for a certification exam that involved mutiple Hyper-V installations like the Microsoft Virtualization exam 74-409 covered in the MVA Course Server Virtualization with Windows Server Hyper-V and System Center, or any of the System Center Private Cloud exams 70-246 and 70-247
Create a bootable USB flash drive for Vmware ESXi
First you need to register and download the free Vmware ESXi
Once you have downloaded the ISO you either need to burn it to a CD or as in my case create a bootable USB drive and install the hypervisor.
I use the Netbootin tool which I find really easy to use.
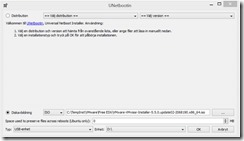
Choose DISKIMAGE and browse to the location you have downloaded the ISO and click OK

Click Yes to overwrite the menu.c32 file
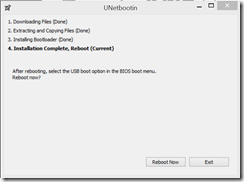
Click Exit to end the process. If you would like to install ESXi on the same machine click Reboot Now
Insert the USB drive to your machine and install VMWare ESXi from your USB drive.
To be able to take screenshots of the procedure I use VMware workstation. I have always use the ESXi version because I want as little overhead as possible. (The software isn’t free but you get a 30 day trial in case you want to try this on your PC)
Step 1 Install VMware ESXi
If you haven’t worked with VMware products before I made a Step by Step instruction on how to install it.
Select the ESXi standard installer
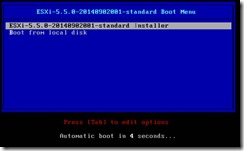
The installer loads
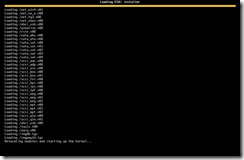
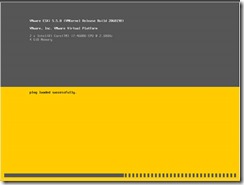
Once the installer has loaded you will see a screen similar to this showing your hardware configuration.
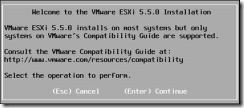
To start the installation press Enter
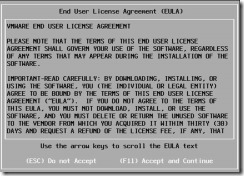
Scroll down to the end of the EULA and press F11
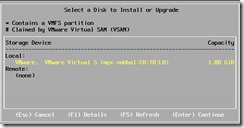
Select the disk where you will install ESXi (You can install it on a 1 GB flash drive to save precious storage on your rig)
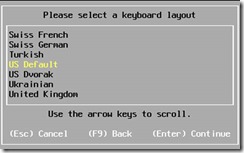
Select keyboard layout and press Enter
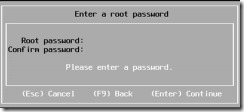
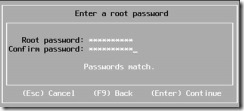
Enter a password for root (Built in Administrator account) press Enter
To start installing press F11 (notice that the disk will be repartitioned)

When the installation is completed press Enter to reboot
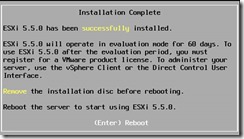
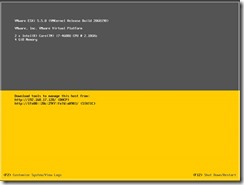
When the hypervisor comes back up again you are met with a similar screen.
Make a note of the URL or type it in your browser to connect to the installs.
If you don’t want DHCP or want to configure a static IP address you need to log on using the password you created earlier. Press F2
To skip the configuration skip to the next step
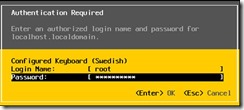
Enter your password and press Enter
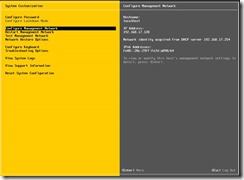
Select configure Management Network and press Enter
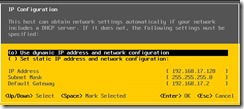
Select Set static IP address and network configuration and add your IP configuration. Press Enter to apply your settings.
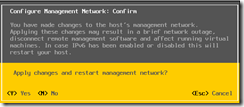
You will be prompted to apply the changes and restart the management network press Y
Step 2 Installing the vSphere client
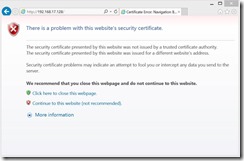
Open the address noted in previous step and click Continue to this website
Click the link Download vSphere Client
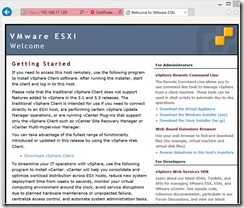
Download the client and install it on your PC (Next, Next,,,Finish)
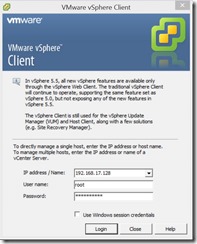
Connecting to ESXi using VMware vSphere Client.
Enter your IP address and log on using root and your password
When you have logged on you are met by a message stating that the host lacks persistent storage, that is expected since you haven’t configured datastore. A datastore is the place where you place your VMs (virtual machines) and other system files such as ISOs, templates. Datastores are equivalent to Microsoft CSV and VMM libraries.
Step 3 Create a Datastore in the vSphere Client
Click the link click here to create a datastore

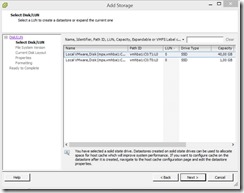
Select the disk that will be configured as a datastore.and click Next (If you are using VMware Workstation you will have to add another disk to the ESXi VM and rescan)
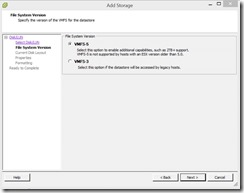
Select VMFS-5 click Next
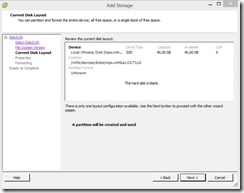
Click Next
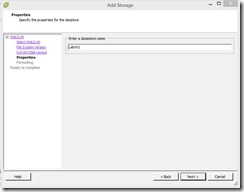
Enter a datastore name, and click Next
Select capacity and click Next
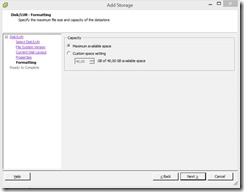
Review your settings and click Finish
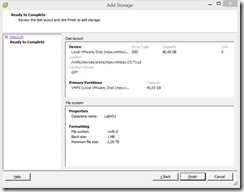
Your datastore is created and is visible in the vSphere client.

Step 4 Create a VM in vSphere Client and install Windows Server 2012 R2
Click FileàNewàVirtual Machine (or right click the host)
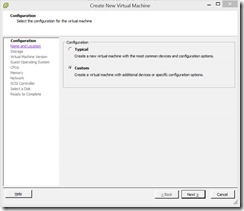
Select Custom and click Next
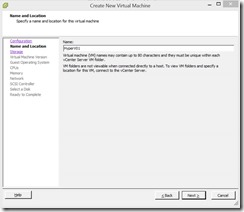
Enter the name of your Hyper-V VM and click Next
Select the datastore where your VM will be stored and click Next
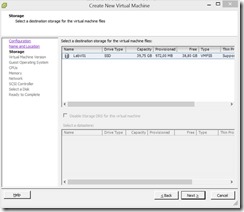
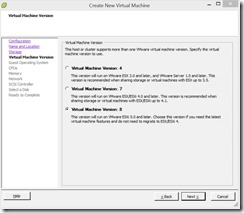
Choose Virtual Machine Version 8 and click Next
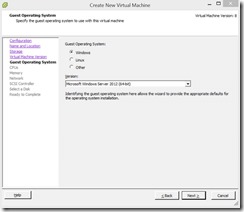
Select guest OS Microsoft Windows Server 2012 (64-bit) and click Next
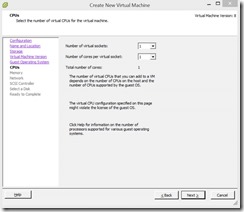
Select the numbers of virtual CPUs and click Next (Take into consideration the hardware you are installing upon and the number of Hyper-V hosts you will install)
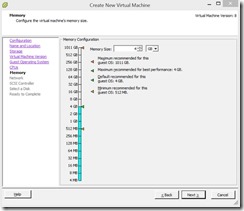
Configure the VM memory size and click Next (Take into consideration the hardware you are installing upon and the number of Hyper-V hosts you will install)
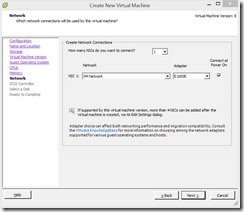
Add the number of NICs you need and click Next
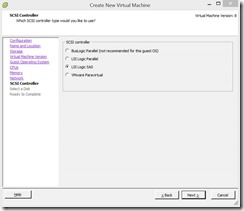
Select LSI Logic SAS and click Next
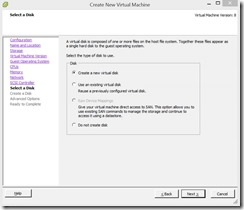
Select Create a new virtual disk and click Next
Specify the disk size and click Next
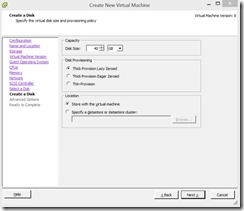
Click Next
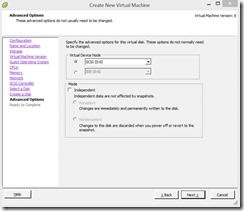
Review your settings and click Finish
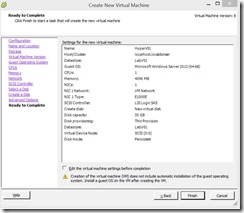
When the V; is created Right click and select Settings
On the hardware tab choose CD/DVD drive and select the place where you have your Windows Server 2012 R2 media, tick the Connect at power on checkbox and click OK.
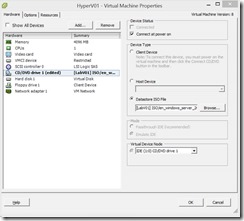
Start your VM and install Windows Server 2012 R2
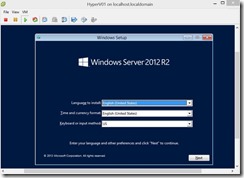
When your Windows Server 2012 R2 is installed make sure you install the VMware tools to enhance the performance of the VM.
Step 5 Nesting Hyper-V on VMware ESXi
If we try to add the Hyper-V role to our installation now we get the following error message.
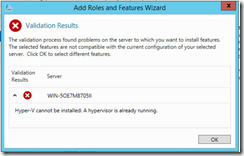
To trick Windows Server 2012 R2 into believing that it’s install on physical hardware we need to add some parameters to the configuration file.
First we need to shut down the VM.
When the VM is turned off Right click and choose Remove from Inventory. On the Confirm Remove pop up, click Yes (don’t worry nothing will be deleted.

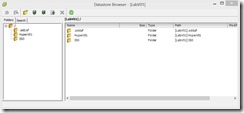
Right click the Datastore where you stored your VM and select Browse Datastore
Select the folder of your VM (as you can see I have a folder called ISO from which I installed the VM to create such a folder just right click and create the folder)
The file we are looking for is the *vmx file. Select the file and click
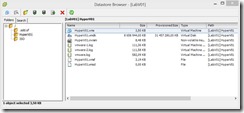
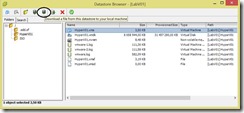
Once you downloaded it we need to edit the file. I use Notepad ++ since I already have it on my PC (Don’t use Notepad the file is character sensitive and Notepad adds the wrong character set, if I remember correct WordPad does 🙂 )
Add the following rows to anywhere in the file, I add them on the end.
vhv.enable = “TRUE”
hypervisor.cpuid.v0 = “FALSE”
If you are copying the text from the blogpost make sure the “ character is correct or else it will not work.

Save the file and upload it again
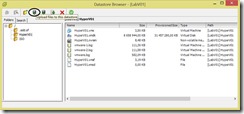
Use the same button if you want to upload files like ISOs to the Datastore.
Once the file has been uploaded, Right click the *.vmx file and choose Add to Inventory
Leave the suggested name and click bNext (Having mismatch between the VM and the filenames can be a real pain when troubleshooting)
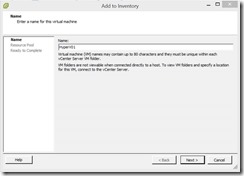
Click Next
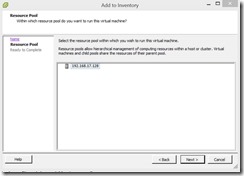
Review the settings and click Finish
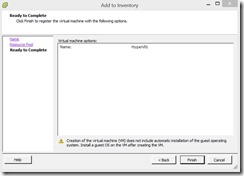
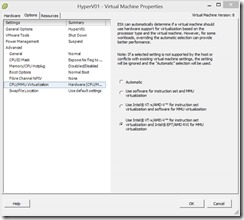
Before we start the VM we need to add the Intel® VT-x/AMD-V™ instruction set.
Right click the VM and choose Settings, click the Option tab and select CPU/MMU Virtualization and change the option box from Automatic to Use Intel® VT-x/AMD-V™ for instruction set virtualization and Intel ® EPT/AMD RVI for MMU virtualization click OK
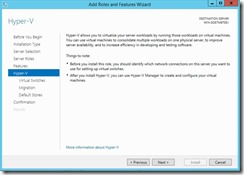
Now start the VM and install the Hyper-V role 🙂
In my next blog post I will start installing the Windows Azure Pack on my lab servers.
The install will consist of two VMware ESXi hosts with three nested Hyper-V hosts on each. If you want to follow along make sure you have your nested Hyper-Vs patched and ready.


 Posted by fredriknilsson_


 Fredrik is a highly qualified and innovative Principal Consultant with deep experience of the different aspects of Service Delivery.